First of all make sure the SelfieBot is charged. There is a light on a charger. When it is red, the charging is going on. The SelfieBot is charged when the light is green or the light is off. The SelfieBot needs a 9V charger.
Take a compatible Android phone/tab (7 inch max.) and install the SelfieBot Droid app on it. The Android version should be 4.2.2 or newer. You will need another Android device with the installed Selfiebot Droid App to control the device.
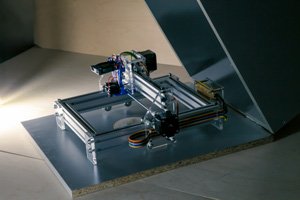
Fix a phone holder to the SelfieBot and mount on it the Android phone/tab with the installed SelfieBot Droid app.
Turn the Android phone/tab on and enter the Android settings to the Bluetooth inset.
Turn the SelfieBot on by pressing a big red button on the rear part of the SelfieBot. A green light will flash.
Activate the Bluetooth module on the Android phone/tab and wait for your SelfieBot to appear on the list of the available devices. Pair the SelfieBot with the phone/tab. If the procedure requests a password, enter 1234.
Connect both Android devices to the Internet via Wi-Fi, 3g or 4g (LTE).
Activate the SelfieBot Droid app on the phone/tab mounted on the SelfieBot. In the app menu choose «Connect over Bluetooth» and wait for the message «Connected to server. Waiting for operator» to appear in the app. status bar.
Turn on your PC or laptop. Make sure it is connected to the Internet. Copy the link http://mikeravx.gear.host/SelfieBotWeb/ and paste it to the address bar of your browser or just click it. Enter your interlocutor’s SelfieBot ID and click “CONNECT”. Pressing the arrows below you can now rotate your interlocutor’s SelfieBot to the left/right, up and down.

 Save 148$ today!