A universal board is designed for education, for enthusiasts, makers and vendors of ready solutions, such as “smart home”.
We are going to tell how to turn on/off the light at home or in the office using a simplified version of the SB 4.0 board.
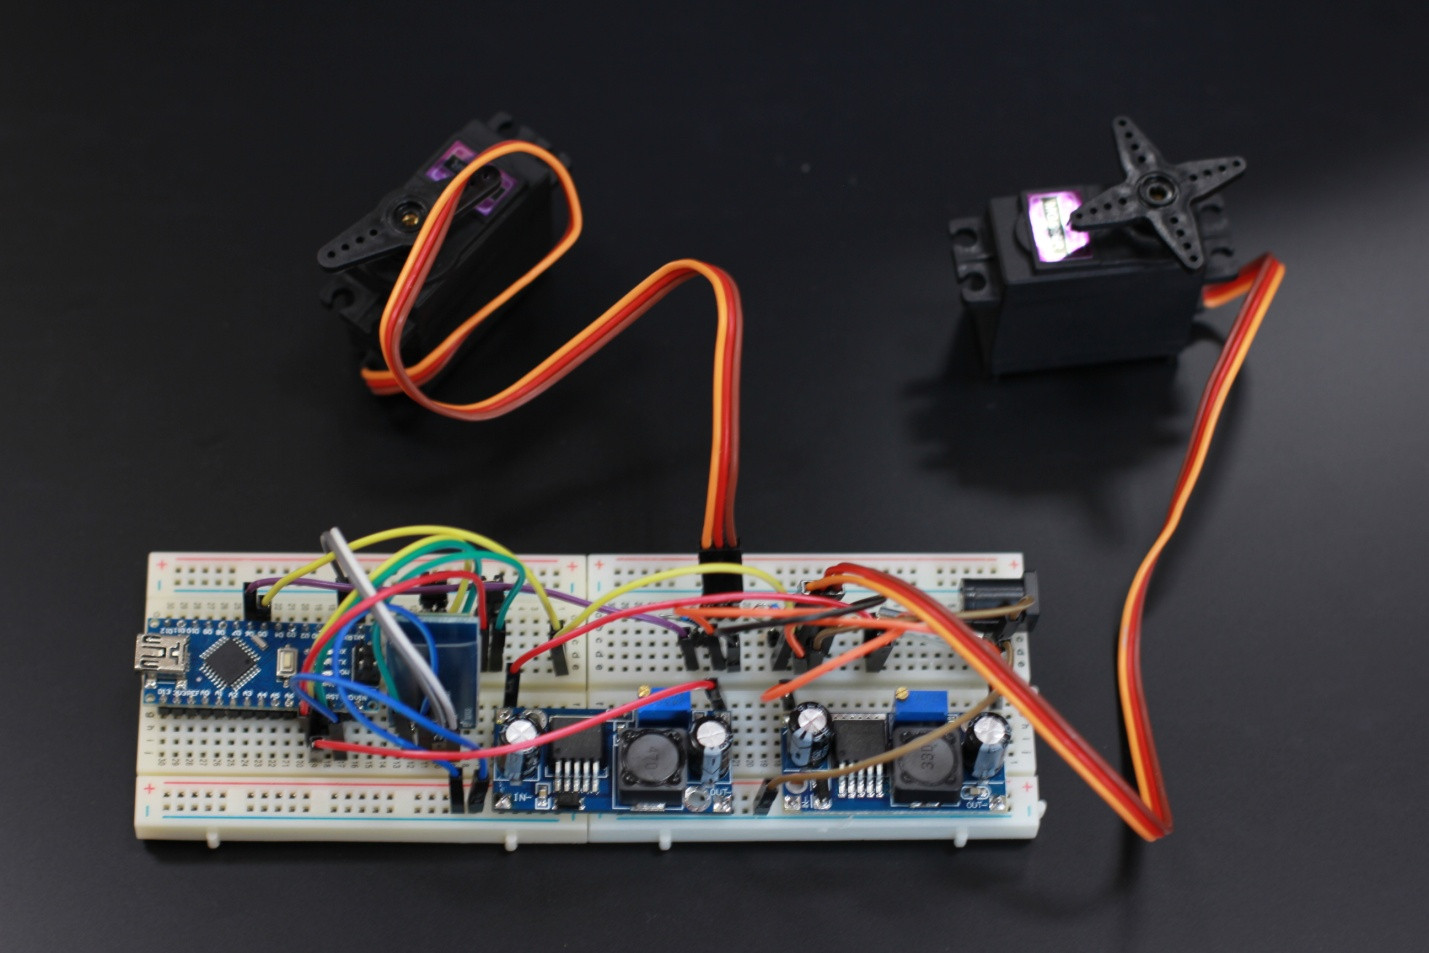
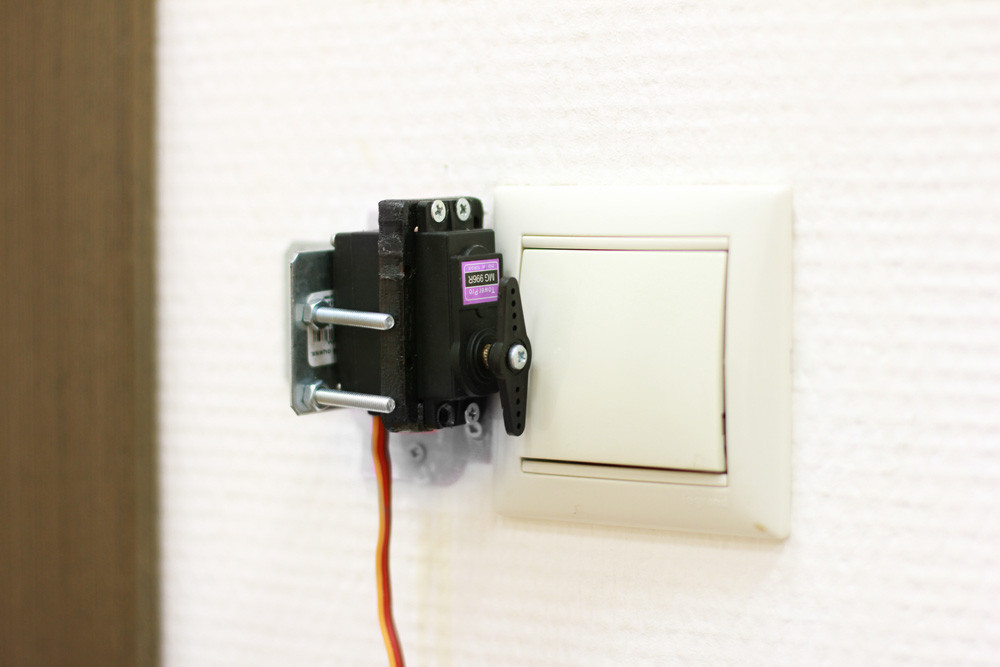
For this we’ll need a DIY SelfieBot electronics set and tools to connect the servo to the light switch.
The DIY SelfieBot electronics is connected to the servo and activates it. The servo turns and switches the light on or off.
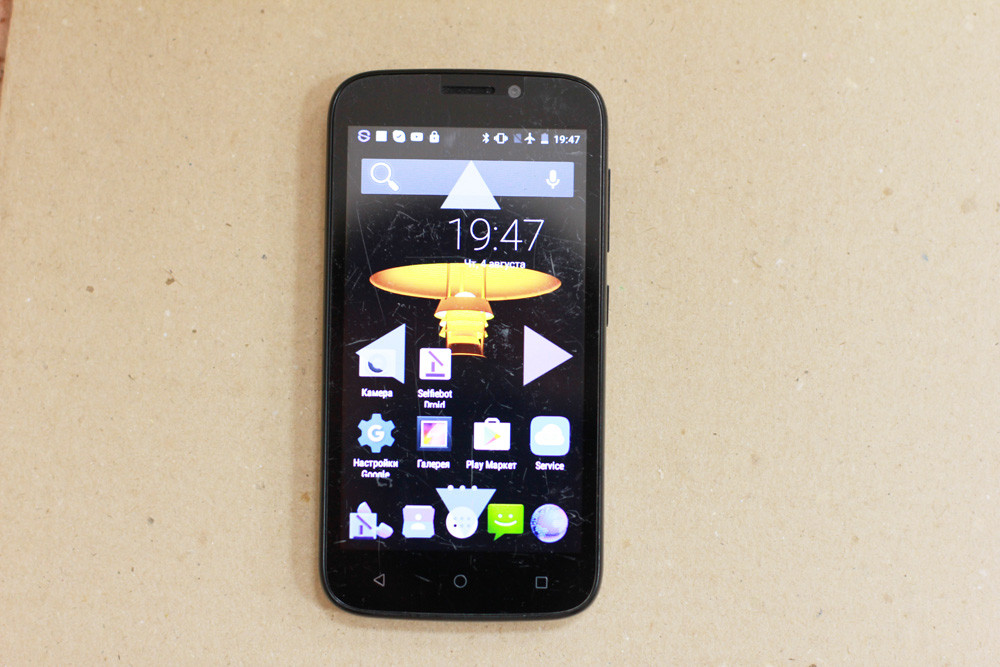
The system is controlled either by Bluetooth (directly) or via 3G / 4G and WiFi through the server. For a direct control it is enough to have one phone or tablet based on Android, while for a remote control two devices are needed. One device is connected via Bluetooth, the second one is connected to the first through the SelfieBot Droid application from the server.
You can install Skype on the first phone/tablet (interfaced with the light switch), set it to auto-answer mode and to turn on/off the light by calling on it.
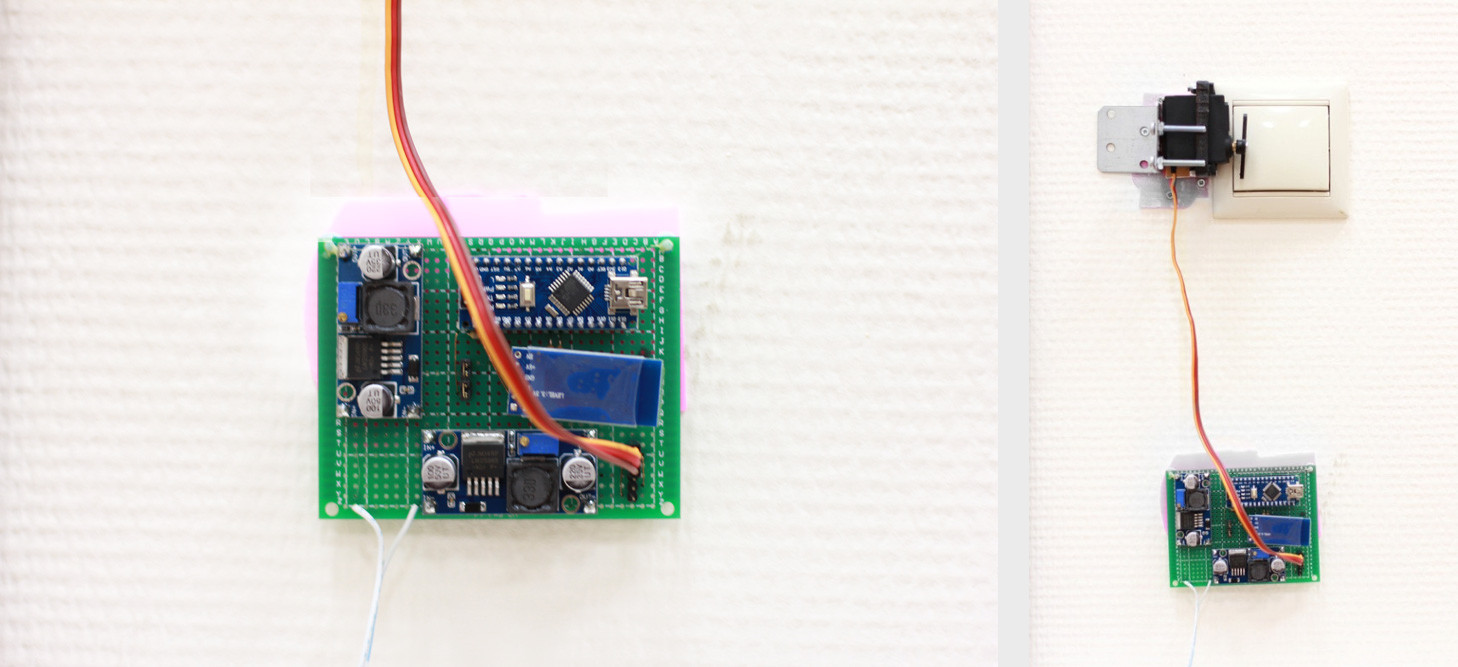
The DIY SelfieBot electronics and schematics are very simple and multifunctional.
Endurance has developed the communication protocol between the Bluetooth module installed on the electronics board, and the free SelfieBot Droid app, by means of which you control this Bluetooth module.
This project is fully open–source. We are happy to share our knowledge and experience with everybody who wants to be engaged in robotics.
We invite everybody to share their knowledge and ready projects with us and the community.

 Save 148$ today!